Restore Production database to DEV environment in D365FO using Bacpac File

In this article I will explain how to restore production database to your Dev environment in D365 finance and operations.
This article answers following questions:
- How to refresh dev database from prod database in D365FO?
- How to export Production database as .bacpac file in D365FO?
- How to update dev database from production database using .bacpac file in D365FO?
- How to update dev enironment from prod database in D365FO?
Here is the summary of the whole process:
- Move production database to test environment.
- Export a backup of test database in the form of .bacpac file.
- Import .bacpac file into dev environment.
I will explain each step later in this article.
- Move production database to test environment. This step has been explained thoroughly in thisarticle
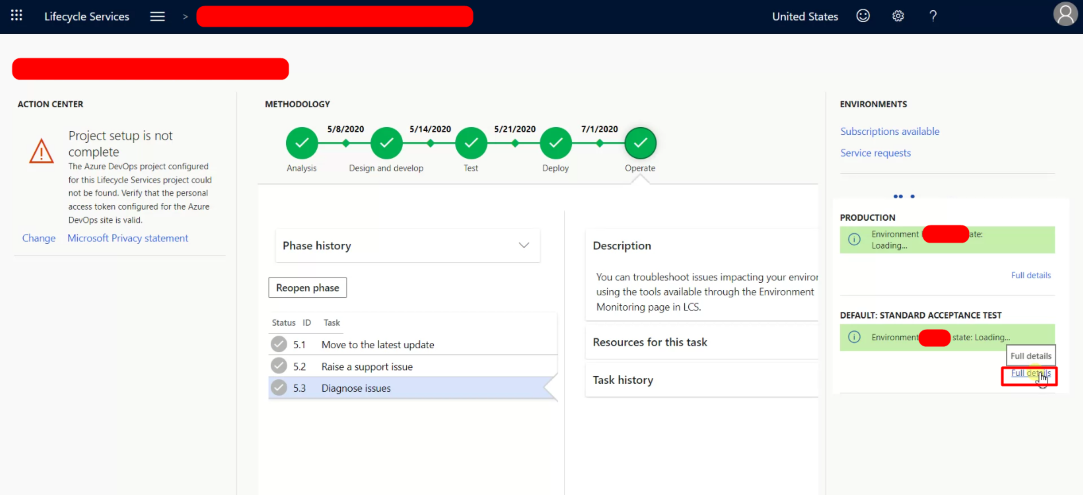
- Export a backup of test database in the form of .bacpac file a. Login in to LCS and open your project.

b. Click on Full detail link of the Test environment.
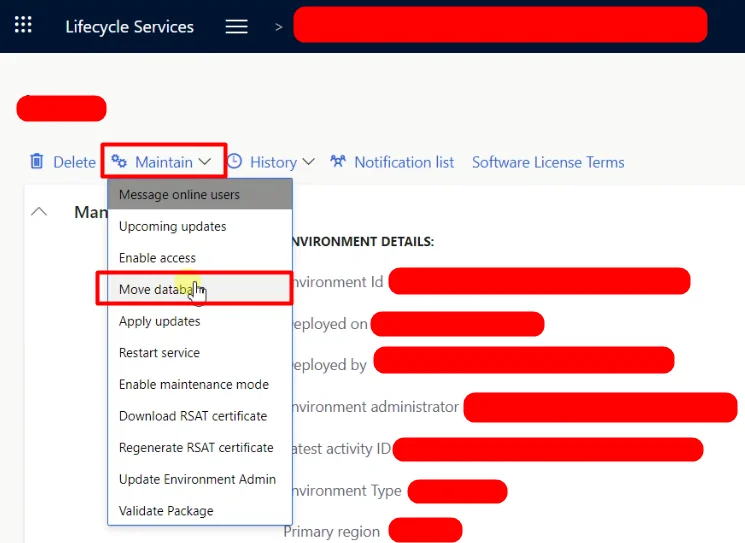
c. Click on Maintain > Move database
d. Click on Export database tile.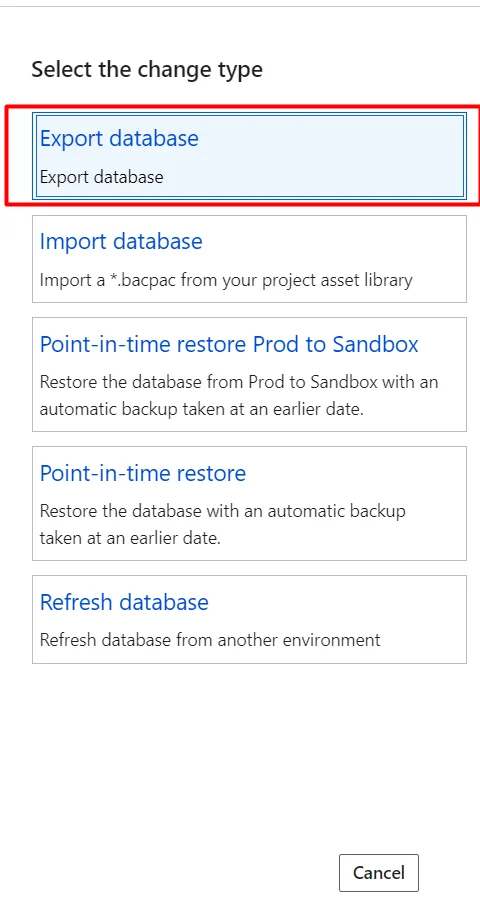
e. Check the checkbox and click Submit button.

f: Click on Yes button.
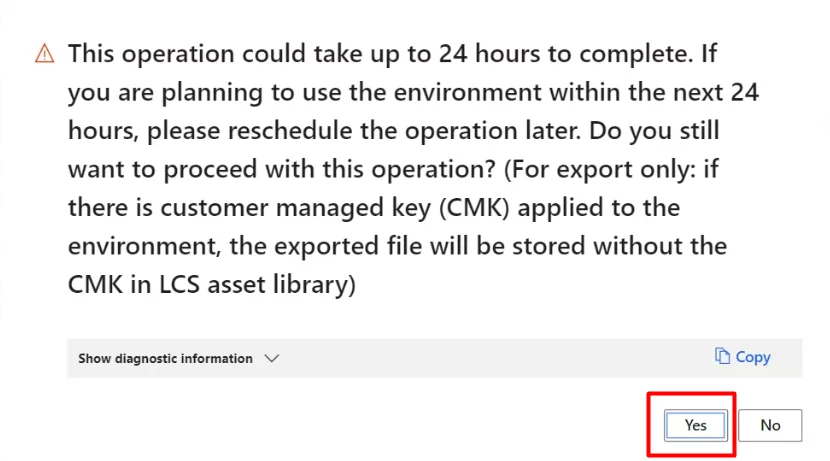
It will start servicing and take almost 1 hour to get this completed. During this time, your test instance will be down. so please make sure you get approval from buisness before starting this activity.

export is done.
3. Import .bacpac file into dev environment.
a. Login in to your Dev machine
b. Login into LCS and download the latest backup from Asset Library. When you click on the backup, it will start downloading and you will get the backup in your downloads folder.

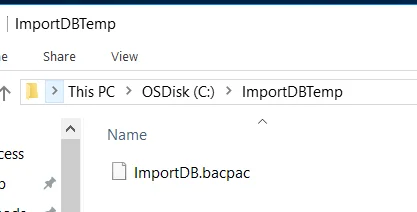
c. Move the backup to a folder in C drive.
d. Download SQL package latest version. Following link is for the latest version as per todays date but you can find out the latest package by searching for Sql package on google.
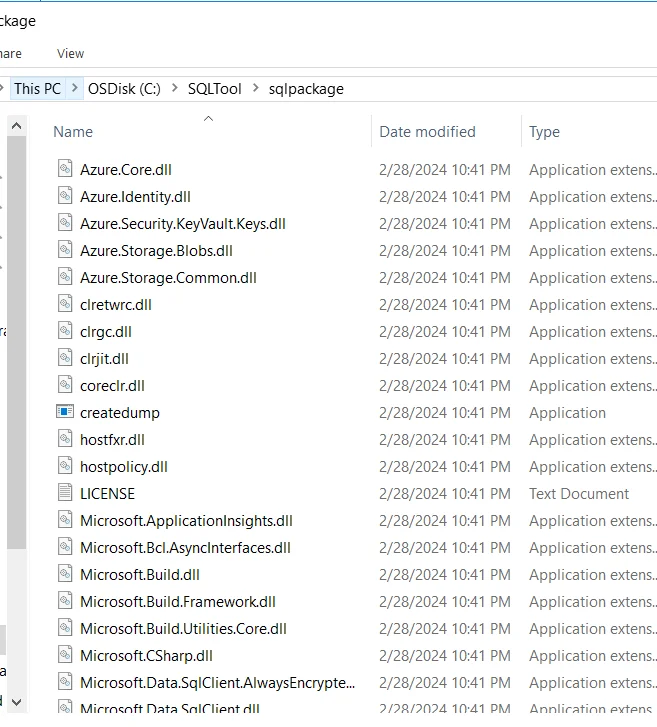
e. Move the downloaded package to C drive and unzip the files into a folder.
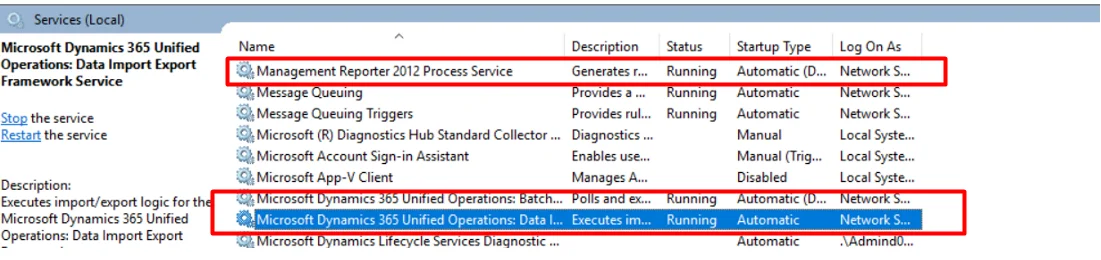
f. Stop the following 4 services.
g. As per recommendation from Microsoft, you should take the backup of your existingAxDBinto a separate drive.

h. Rename the existing AxDB.
Run these commands on master DB
 i. Now open command prompt as Administrator.
 j. Change directory to the folder where your extracted SQL package is present.
k. Now run the following command:
j. Change directory to the folder where your extracted SQL package is present.
k. Now run the following command:


where
- tsn (target server name) – The name of the SQL Server to import into.
- tdn (target database name) – The name of the database to import into. The database should not already exist.
- sf (source file) – The path and name of the file to import from.
- /p:CommandTimeout=200000 seconds approximately 55 hours timeout for command
- /TargetEncryptConnectionLFalse this is the updated script which will keep us away from certificate errors
It will take almost 6 hours and show the following screen in the end when completed.

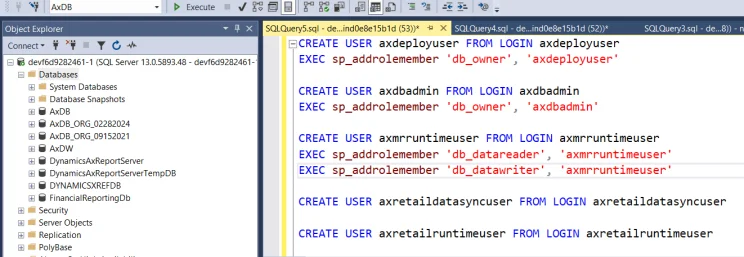
l. Now run the following commands:
I just copied from Microsoft learn.
CREATE USER axdeployuser FROM LOGIN axdeployuser
    EXEC sp_addrolemember 'db_owner', 'axdeployuser'

    CREATE USER axdbadmin FROM LOGIN axdbadmin
    EXEC sp_addrolemember 'db_owner', 'axdbadmin'

    CREATE USER axmrruntimeuser FROM LOGIN axmrruntimeuser
    EXEC sp_addrolemember 'db_datareader', 'axmrruntimeuser'
    EXEC sp_addrolemember 'db_datawriter', 'axmrruntimeuser'

    CREATE USER axretaildatasyncuser FROM LOGIN axretaildatasyncuser

    CREATE USER axretailruntimeuser FROM LOGIN axretailruntimeuser

    CREATE USER axdeployextuser FROM LOGIN axdeployextuser

    CREATE USER [NT AUTHORITY\NETWORK SERVICE] FROM LOGIN [NT AUTHORITY\NETWORK SERVICE]
    EXEC sp_addrolemember 'db_owner', 'NT AUTHORITY\NETWORK SERVICE'

    UPDATE T1
    SET T1.storageproviderid = 0
        , T1.accessinformation = ''
        , T1.modifiedby = 'Admin'
        , T1.modifieddatetime = getdate()
    FROM docuvalue T1
    WHERE T1.storageproviderid = 1 --Azure storage

    DROP PROCEDURE IF EXISTS SP_ConfigureTablesForChangeTracking
    DROP PROCEDURE IF EXISTS SP_ConfigureTablesForChangeTracking_V2
    GO
    -- Begin Refresh Retail FullText Catalogs
    DECLARE @RFTXNAME NVARCHAR(MAX);
    DECLARE @RFTXSQL NVARCHAR(MAX);
    DECLARE retail_ftx CURSOR FOR
    SELECT OBJECT_SCHEMA_NAME(object_id) + '.' + OBJECT_NAME(object_id) fullname FROM SYS.FULLTEXT_INDEXES
        WHERE FULLTEXT_CATALOG_ID = (SELECT TOP 1 FULLTEXT_CATALOG_ID FROM SYS.FULLTEXT_CATALOGS WHERE NAME = 'COMMERCEFULLTEXTCATALOG');
    OPEN retail_ftx;
    FETCH NEXT FROM retail_ftx INTO @RFTXNAME;

    BEGIN TRY
        WHILE @@FETCH_STATUS = 0
        BEGIN
            PRINT 'Refreshing Full Text Index ' + @RFTXNAME;
            EXEC SP_FULLTEXT_TABLE @RFTXNAME, 'activate';
            SET @RFTXSQL = 'ALTER FULLTEXT INDEX ON ' + @RFTXNAME + ' START FULL POPULATION';
            EXEC SP_EXECUTESQL @RFTXSQL;
            FETCH NEXT FROM retail_ftx INTO @RFTXNAME;
        END
    END TRY
    BEGIN CATCH
        PRINT error_message()
    END CATCH

    CLOSE retail_ftx;
    DEALLOCATE retail_ftx;
    -- End Refresh Retail FullText Catalogs

    --Begin create retail channel database record--
    declare @ExpectedDatabaseName nvarchar(64) = 'Default';
    declare @DefaultDataGroupRecId BIGINT;
    declare @ExpectedDatabaseRecId BIGINT;
    IF NOT EXISTS (select 1 from RETAILCONNDATABASEPROFILE where NAME = @ExpectedDatabaseName)
    BEGIN
    	select @DefaultDataGroupRecId = RECID from RETAILCDXDATAGROUP where NAME = 'Default';
    	insert into RETAILCONNDATABASEPROFILE (DATAGROUP, NAME, CONNECTIONSTRING, DATASTORETYPE)
    	values (@DefaultDataGroupRecId, @ExpectedDatabaseName, NULL, 0);
    	select @ExpectedDatabaseRecId = RECID from RETAILCONNDATABASEPROFILE where NAME = @ExpectedDatabaseName;
    	insert into RETAILCDXDATASTORECHANNEL (CHANNEL, DATABASEPROFILE)
    	select RCT.RECID, @ExpectedDatabaseRecId from RETAILCHANNELTABLE RCT
    	inner join RETAILCHANNELTABLEEXT RCTEX on RCTEX.CHANNEL = RCT.RECID
            update RETAILCHANNELTABLEEXT set LIVECHANNELDATABASE = @ExpectedDatabaseRecId where LIVECHANNELDATABASE = 0
    END;
    --End create retail channel database record
Run the above commands on AxDB.
m. Run the following 4 services which you stopped earlier.

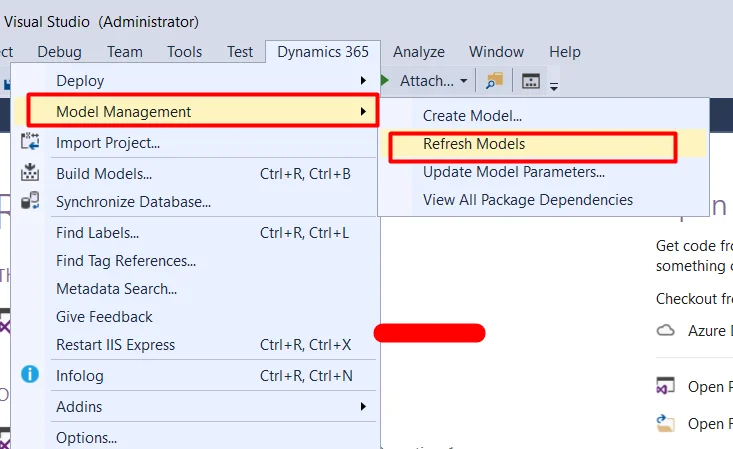
n. Go to Dynamics 365 > Model Management > Refresh Models
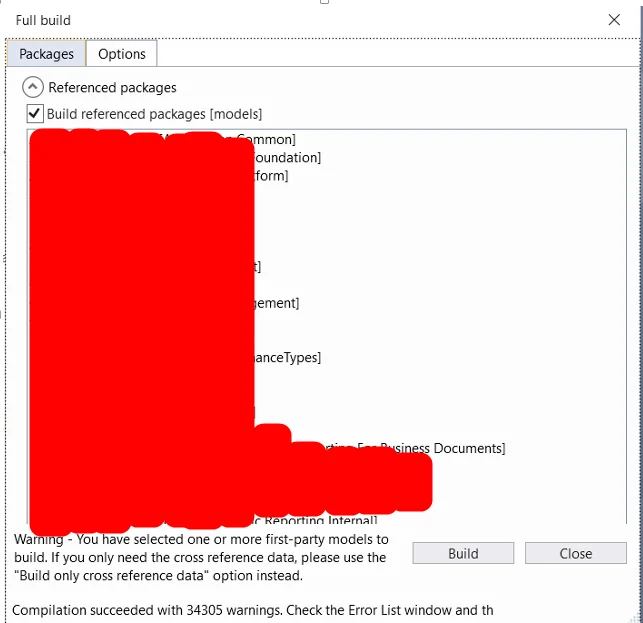
o. Go to Dynamics 365 > Build Models

Here you have 2 options. Either you can select all model and Build or just select Application Suite and select the Build referenced packages and Build.

It will take 4-5 hours at least and if succeeded, will show the following screen.
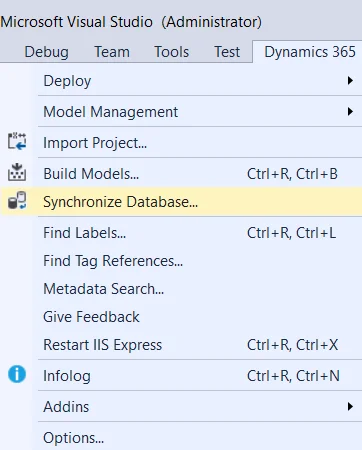
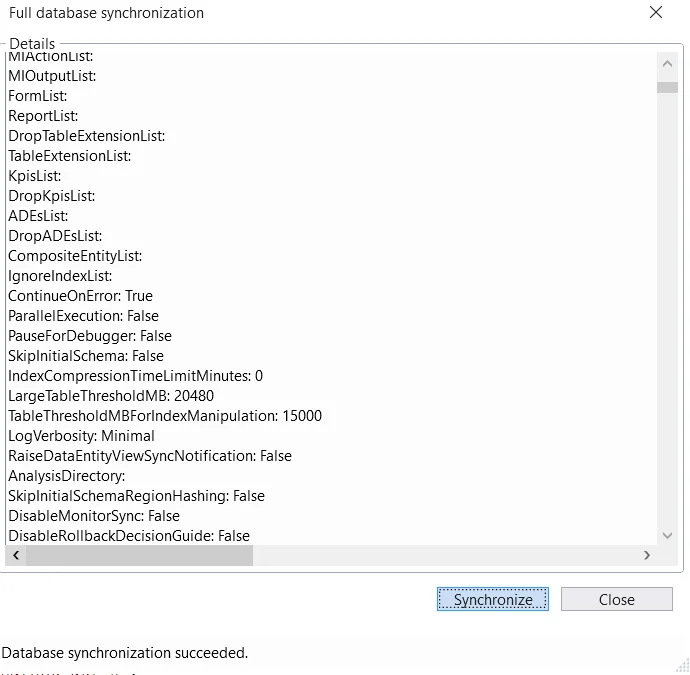
o. Go to Dynamics 365 > Synchronize Database
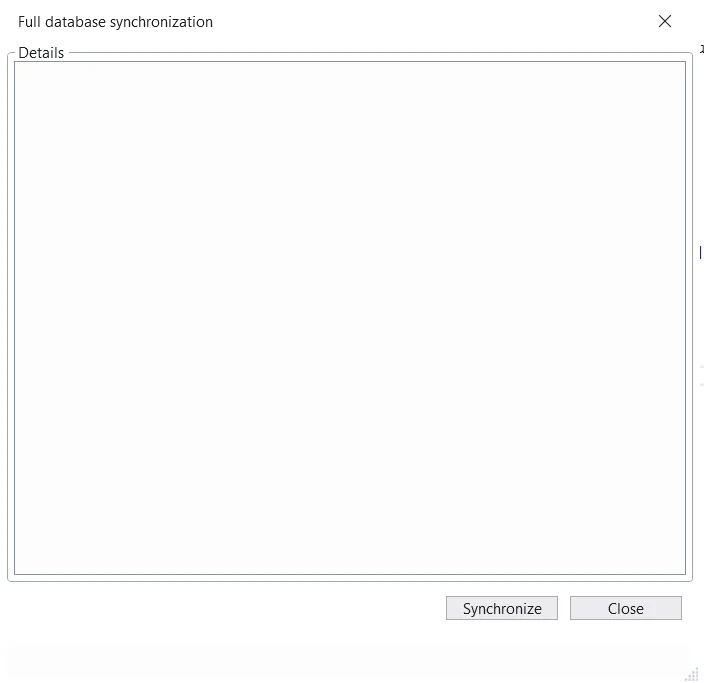
It will take 3-4 hours and show the following screen once completed.
All done. Happy learning.